

First open the picture you want to add a texture to....

Isn't he cute?! Six months is a FUN age to work with!!
Make sure your photo is completely edited the way you want it and then create a new layer and FILE> PLACE and find the texture you want to use. I have mine organized in it's own folder and organized by color like the OCD freak that I am :)

Drag the corners to cover the picture and click to commit :)

Now you need to change the blending mode. I like to use overlay for adding texture, but experiment and find what you like and what works best with the photo and texture that you are using.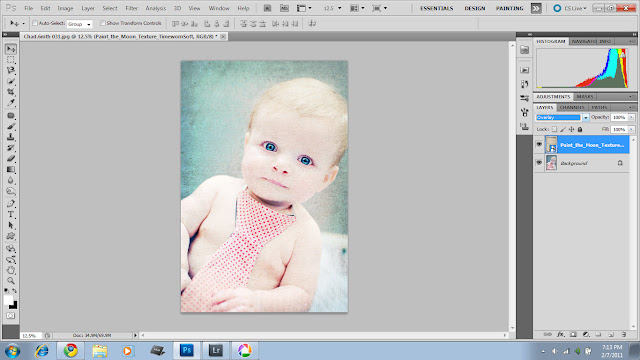

Now reduce the opacity....
To get rid of the texture that is on the skin add a layer mask to the texture layer, use a black brush and paint over the skin areas. I like to start with a low opacity brush so that it is a faded edge and not a hard edge.


Make sure you are happy with the opacity of the texture and then flatten image.
Look at the clock in the lower right corner of my pics... Time: 4 minutes!! and that's stopping to take Screen Shots, usually it only takes me 2 :)
There are TONS of free textures out there for you to try... and then if you LOVE the look of textures on your photos, there are a gazillion more textures to purchase!
No comments:
Post a Comment